Agatha Christie said, “The best time for planning a book is while you’re doing the dishes.” And it’s true! The best way to free your mind to think about important things is to have a simple, easy-to-follow schedule to get the basics done around the house. And fortunately, there is just such a vintage daily cleaning routine that we can use to keep house like a 1950s housewife.
Get Our Mid-Century Mom Daily Routine FREE!
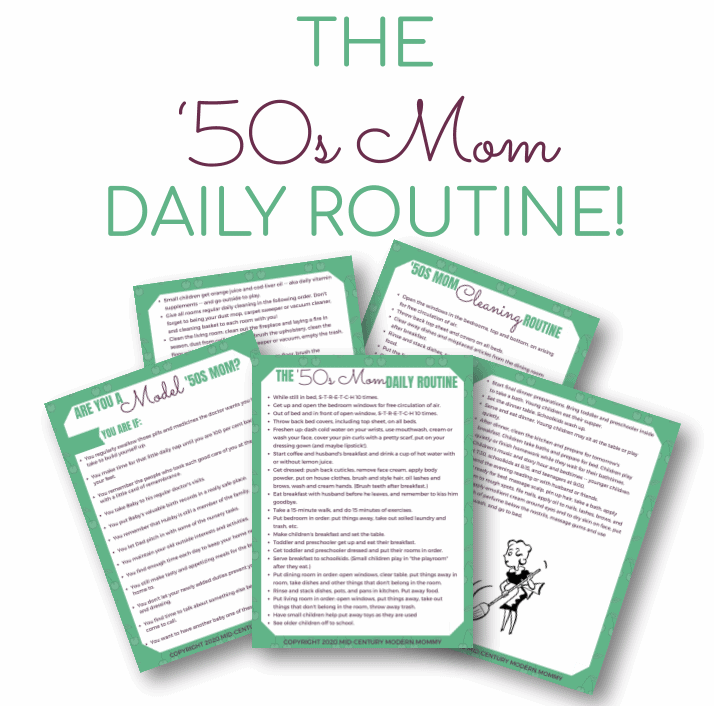
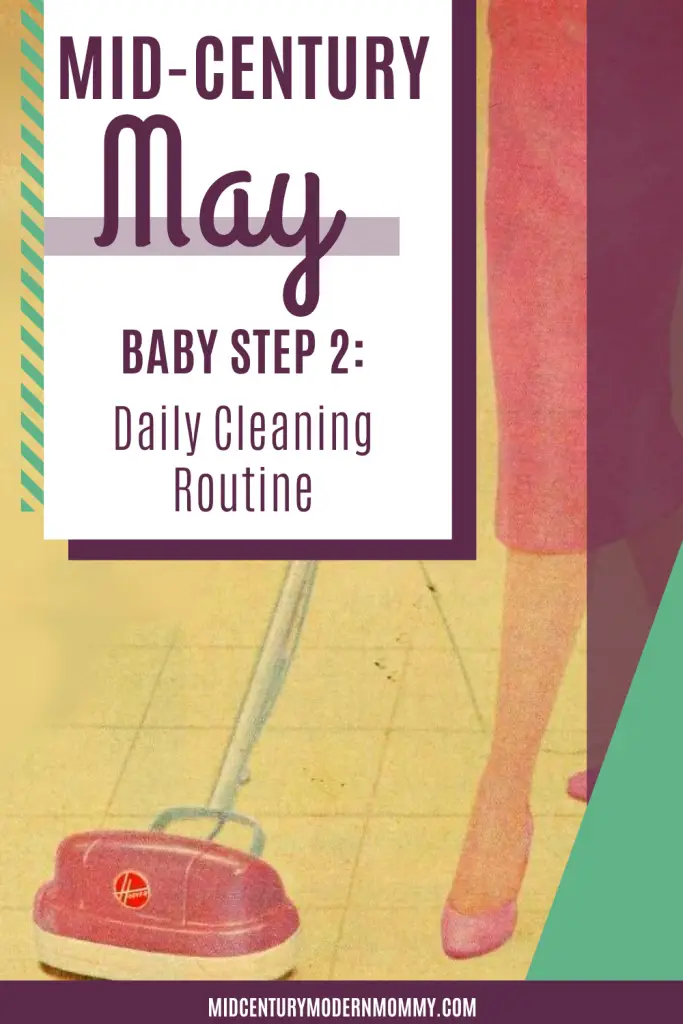
Daily Cleaning Routine
A daily cleaning routine is doing a light cleaning of all the rooms of your house. Vintage housewives did their daily cleaning first thing in the morning, in case unexpected company came by. Nowadays, there is less unexpected company, but this baby step gives us a chance to prepare for visitors anyway!
A vintage morning cleaning routine had three main parts: airing, tidying, and cleaning.
Fresh air was considered a vital necessity, so the schedule started with opening the bedroom window and airing the bed.
After breakfast, the housewife tidied the dining room, the kitchen and the living room. This meant clearing the table and putting the dining room in order, rinsing and stacking the breakfast dishes, pots, and pans and putting away the food, and putting the living room in order. And, for the most part, this meant putting things away where they belonged. Tidying, in the Konmari sense.
Finally, the last part was giving all the rooms their regular daily cleaning. By dividing the work this way, the routine made time for the mother to put baby care and other important things into the schedule first.
And, because a good method was so important to the vintage housewife, daily cleaning should include a large tray for handling clutter when you tidy, a cleaning basket to hold everything you need to do your work efficiently, and a little wastebasket, so you don’t have to keep running to the trash can.
Order of Work for Daily Cleaning Routine
This post contains affiliate links. If you click a link and make a purchase, I may receive, at no additional cost to you, a small commission. Find out more on my Disclosures page, and thank you so much for your support!
This is the order of work recommended by America’s Housekeeping Book, which is the very best housekeeping book I have found.
- Open windows in bedrooms, top and bottom, on arising, for the free circulation of air (except in completely air-conditioned houses).
Throw back bed covers, including top sheet, on all beds. - Clear away dishes and misplaced articles from the dining room, after breakfast (steps 1-4 in the Dining Room Outline).
- Rinse and stack the dishes, pots, and pans in the kitchen.
Put away the food. - Put the living room in order (steps 1-4 in the Living Room Outline).
- Give all the rooms their regular daily cleaning, in the following order:
- Living Room
- Second Living Room (sun porch, den, library, etc.)
- Dining Room
- Bedrooms
- Bathrooms
- Upstairs Hall, if any (use Living Room Outline).
- Stairs, if any (use Living Room Outline).
- Downstairs Hall
- Kitchen. (Before cleaning the kitchen, put away all cleaning equipment except that needed for the kitchen, and carry out any necessary food preparation for lunch and dinner.)
Daily Cleaning Routine Outlines
Each room has an outlined order of work that gives you a guide to the ideal clean house. You may not get this done everyday. But the ideal is still helpful as a method showing where to start and how to proceed, and you can work toward it.
One caveat: mid-century decorating books are unanimous in their adulation of open, empty space and their rejection of the cluttered, Victorian look. Part of this was an abhorrence of dust (So. Much. Dusting.), but it means that is your home is cluttered, and you are not organized (“A place for everything and everything in place”), then this will take you a LONG time. I highly recommend decluttering your house if you can’t finish your housework by lunch time, including your weekly chores (except maybe laundry). NO ONE should have to spend ALL DAY cleaning!
All of these cleaning routines are also from America’s Housekeeping Book, by the way.
Living Room
The living room belongs to the whole family, and the whole family should be responsible for putting their things away when they are done with them. A good policy is to tidy the whole room before bedtime each evening to make the homemaker’s morning work easier. (Yes, the book actually says so!)
- Open windows top and bottom for free circulation of air.
- Pick up and replace small articles belonging in the room, such as books, magazines, music, games, cards, etc.
- Gather up on tray to take out: used ashtrays, articles belonging in other rooms, or plants or flowers to be tended. Collect trash in the wastebasket.
- Carry out tray. Put away articles belonging in other rooms. (These first 4 steps are the tidying routine.)
- Bring in cleaning equipment: hearth broom (if not kept at fireplace), carpet sweeper or vacuum cleaner (according to need), dust mop, cleaning basket.
- In season, clean out fireplace, lay fire, sweep hearth.
- Dust high objects if necessary: mantels, high shelves, window frames and sills, tops of bookcases, secretary, highboys, etc.
- Dust radiator covers if necessary.
- Brush upholstery if necessary. Straighten covers. Plump up pillows.
- Dust furniture and low objects if necessary. Treat stains or blemishes as they occur.
- Dust exposed wood flooring with dust mop if necessary. Use carpet sweeper or vacuum cleaner on rugs or carpets.
- Final touches: Straighten draperies, shades, curtains, etc. Take out cleaning equipment and the wastebasket. Return clean ashtrays, accessories, flowers, and the wastebasket. Close windows if desired.
Dining Room
The most important thing for the dining room is to get the crumbs off the floor and out of the carpet after every meal. And to keep the room fresh and clean for meals.
- Open windows top and bottom for the free circulation of air.
- Clear breakfast dishes from the table to tray or tea wagon. Pick up and replace small articles belonging in the room.
- Gather up to take out: articles belonging in other rooms, plants, or flowers to be tended; place on tray or tea wagon. Collect trash in the wastebasket.
- Carry out tray or tea wagon. Put away articles belonging in other rooms. (These first 4 steps are the tidying routine.)
- Bring in cleaning equipment: carpet sweeper or vacuum cleaner (according to need), dust mop, cleaning basket.
- Dust high objects if necessary: mantels, high shelves, window frames and sills, tops of bookcases, secretary, highboys, etc.
- Dust radiator covers if necessary.
- Brush upholstery if any.
- Dust furniture and low objects if necessary. Treat stains or blemishes as they occur.
- Dust exposed wood flooring with dust mop if necessary. Use carpet sweeper or vacuum cleaner on rugs or carpets.
- Final touches: Straighten draperies, shades, curtains, etc. Take out cleaning equipment and wastebasket, etc. Return flowers, wastebasket, etc. Close windows if desired.
Bedrooms
The rooms where we sleep should be kept immaculately clean, sweet, and fresh at all times. Every member of the family should carry soiled clothing to the hamper (or clothes-chute), hangs up other clothing, puts away their own things, turns down their bedding, and opens the window before breakfast.
The mother should take responsibility for teaching this routine to the young child, over and over, every morning, so that by the time they are school-aged, they are able to do it for themselves.
- Open windows top and bottom for the free circulation of air.
- Throw back the bedcovers, including the top sheet.
- Pick up and replace small articles belonging in the room; books, slippers, etc.
- Gather up to take out: articles belonging in other rooms, soiled clothing. Collect trash in the wastebasket.
- Carry out articles belonging elsewhere. (These first five steps should be done by the occupant of the room before breakfast.)
- Bring in cleaning equipment: carpet sweeper or vacuum cleaner (according to need), dust mop, cleaning basket.
- Make the bed.
- Dust high objects if necessary: mantels, high shelves, window frames and sills, tops of bookcases, secretary, highboys, etc.
- Dust radiator covers if necessary.
- Brush upholstery if any. Straighten covers. Plump up pillows.
- Dust furniture and low objects if necessary. Treat stains or blemishes as they occur.
- Dust exposed wood flooring with dust mop if necessary. Use carpet sweeper or vacuum cleaner on rugs or carpets.
- Final touches: Straighten draperies, shades, curtains, etc. Take out cleaning equipment and wastebasket, etc. Return flowers, wastebasket, etc. Close windows if desired.
Baby’s Room
- Clean the room while the baby is out.
- Open windows top and bottom for the free circulation of air.
- Pick up and replace small articles belonging in the room: toys, etc.
- Gather up to take out: articles belonging in other rooms, soiled clothing, soiled bedding.
- Carry out the articles collected.
- Bring in cleaning equipment: carpet sweeper or vacuum cleaner (according to need), dust mop, 2 clean dust cloths (1 damp, 1 dry), 2 bowls warm water on a tray.
- Dust high objects: mantels, high shelves, window frames and sills, tops of bookcases, secretary, highboys, etc.
- Dust radiator covers if necessary.
- Dust furniture and low objects if necessary. Treat stains or blemishes as they occur.
- Dust exposed wood flooring with dust mop if necessary. Use carpet sweeper or vacuum cleaner on rugs or carpets.
- Make the bed.
- Final touches: Straighten shades and curtains. Put away clean clothing. Return wastebasket. Adjust ventilation.
Bathrooms
Every member of the family should make sure they “leave no trace” in the bathroom–no soapy splotches in the sink or bathtub rings or towels strewn about. Towels in a different color for each family member will help. So will keeping a can of scouring powder, a bathtub brush, and a special cleaning cloth for cleaning the tub and sink after each use.
Good ventilation is also essential.
- Open windows top and bottom for the free circulation of air.
- Pick up and replace small articles belonging in the bathroom.
- Gather up to take out soiled linen (to hamper, if dry), and articles belonging in other rooms. Collect trash in the wastebasket. Roll up bath mat or rug.
- Wipe mirror.
- Wipe tile behind washbowl and tub.
- Clean bathtub and metal fixtures (be sure to wipe shower fixture and clean soap holder).
- Clean toilet bowl with the brush. Wipe outside of bowl and closet with a cloth used for that purpose only.
- Clean washbowl (be sure to wipe base as well as the top; also clean the soap holder).
- Straighten towels and washcloths. Put out clean linen when needed (fresh linen for all on Wednesdays and Saturdays).
- Sweep floor. Gather up dust in the dustpan.
- Replace bath mat or rug. Close windows in cold or damp weather.
Halls and Stairs
Stairs apparently present problems peculiar to themselves. (I wouldn’t know!) Uncarpeted stairways should be dusted every day. Carpeted stairways should be brushed several times a week. Otherwise, use the Living Room outline for halls and stairs.
Kitchen
Order and cleanliness are paramount in the kitchen. Cleanliness prevents illness and order speeds along the many kitchen tasks. If you cook from scratch, you can spend hours in the kitchen, so efficiency and order are as essential as cleanliness here.
- Open windows top and bottom for free circulation of the air.
- Rinse and stack dishes, pots, and pans.
- Check and reorganize food; put away.
- Collect all refuse and put in the garbage can.
- Wipe off the top of the refrigerator and all work surfaces in need of cleaning.
- Wash dishes. Dry and put away, if not room to rinse with hot water and leave to dry.
- Wipe off the surface of the range. Clean spilled food from the drip pan or oven.
- Dry damp work surfaces.
- Dust radiator or register.
- Take out garbage; put a clean lining in the garbage can.
- Sweep floor. Collect dust in the dustpan. Mop if necessary.
- Clean sink. Rinse dishcloth or mop; hand outdoors if possible.
- Collect soiled towels; wash. Hang fresh towels.
Whew! No wonder you need to declutter before you can keep your house clean!
Does Your Daily Cleaning Routine Look Like This?
My daily cleaning routine looks very much like this. I do have to tidy multiple times a day because so many people are at home. It doesn’t take me all day though, and I am teaching my little ones how to clean up after themselves, at the same time.
It usually takes me about an hour to do all the rooms except the kitchen. Most of my children take care of their own things. If they don’t I am apt to remind them that if they can’t keep their rooms clean, there is too much stuff!
What about you? What kind of cleaning do you do every day?
Want More Schedules?


Hello! Daily cleaning routine… yes I have one. It’s part of my Flylady routine. Morning, afternoon, and evening routines each have their own set of cleaning tasks, and each day of the week has a specific cleaning task. Monday: dust
Tuesday: vacuum
Wednesday: sweep and mop
Thursday: polish glass and mirror
Friday: empty all trash cans and take trash out for pickup
Saturday: change sheets
Sunday: rest day
Daily I make sure the kitchen is clean, bed made, table cleaned, hot spots put out, ( that’s what Flylady calls clutter spots in your house), a load of laundry completely done, and 15 minutes of zone cleaning. In Flylady, your house is divided into zones and you do deep cleaning tasks in each zone once a month, spending 15-20 minutes per day in the zone doing a task. There is also a specific day for cleaning out the fridge, which is the day I make my menus and do my grocery order, cleaning out your car, and desk day, where I file papers, pay bills, etc. I’ve been doing this for two years, my house is always presentable, and I never have a major cleaning job to do.
I could never make FlyLady work for me. But I loved the idea of systems and methods, which I had no clue about when I first found her. I read her book over and over. I’m still grateful to her and her method for sending me on a journey to finding vintage housekeeping! I know she works for a lot of housewives. Having a system that you can do without thinking is the most important thing.
I’ve struggled to make fly lady work for me as well. I am looking forward to trying this cleaning routine you’ve got to see if it works better for me! 🤗
It’s hard at first, but it works better for me than anything else ever has!
Pingback: Mid-Century May Baby Step 4: Plan Your Housework ⋆ Mid-Century Modern Mommy
Pingback: Mid-Century May Baby Step 7: How to Wash Dishes by Hand ⋆ Mid-Century Modern Mommy
Pingback: Introducing The Mid-Century May Challenge! ⋆ Mid-Century Modern Mommy